


Last updated on February 24th, 2026
You’ve wiped the counters. The sink looks clean. There’s no food lying around. And yet, the kitchen still smells… off. If this sounds familiar, you’re not imagining things. In many homes, the problem isn’t the kitchen itself. It’s the trash can quietly holding on to odors long after the garbage is gone.
Trash cans are often cleaned only when something spills, but over time, smells settle into places we don’t see. The good news is that once you deal with this properly, the difference is immediate.
1. It’s Not The Trash, It’s The Can

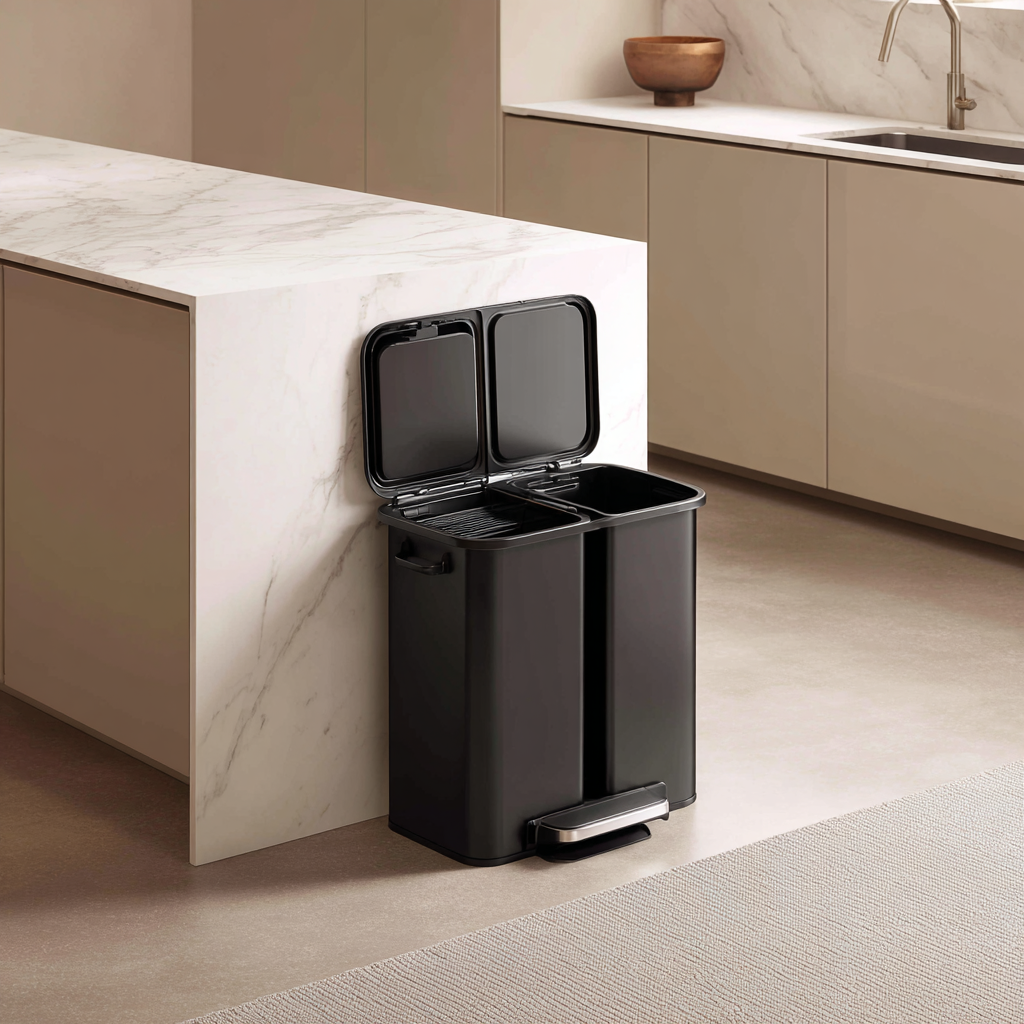
Even when the bag is emptied regularly, residue builds up inside the bin. Food drips, moisture, and tiny spills cling to the sides and bottom. This creates the perfect environment for lingering odors, especially in warm kitchens.
Simply taking out the trash doesn’t reset the smell. The container itself needs attention.
Looking to get your interiors done?
2. Start By Clearing Everything Out

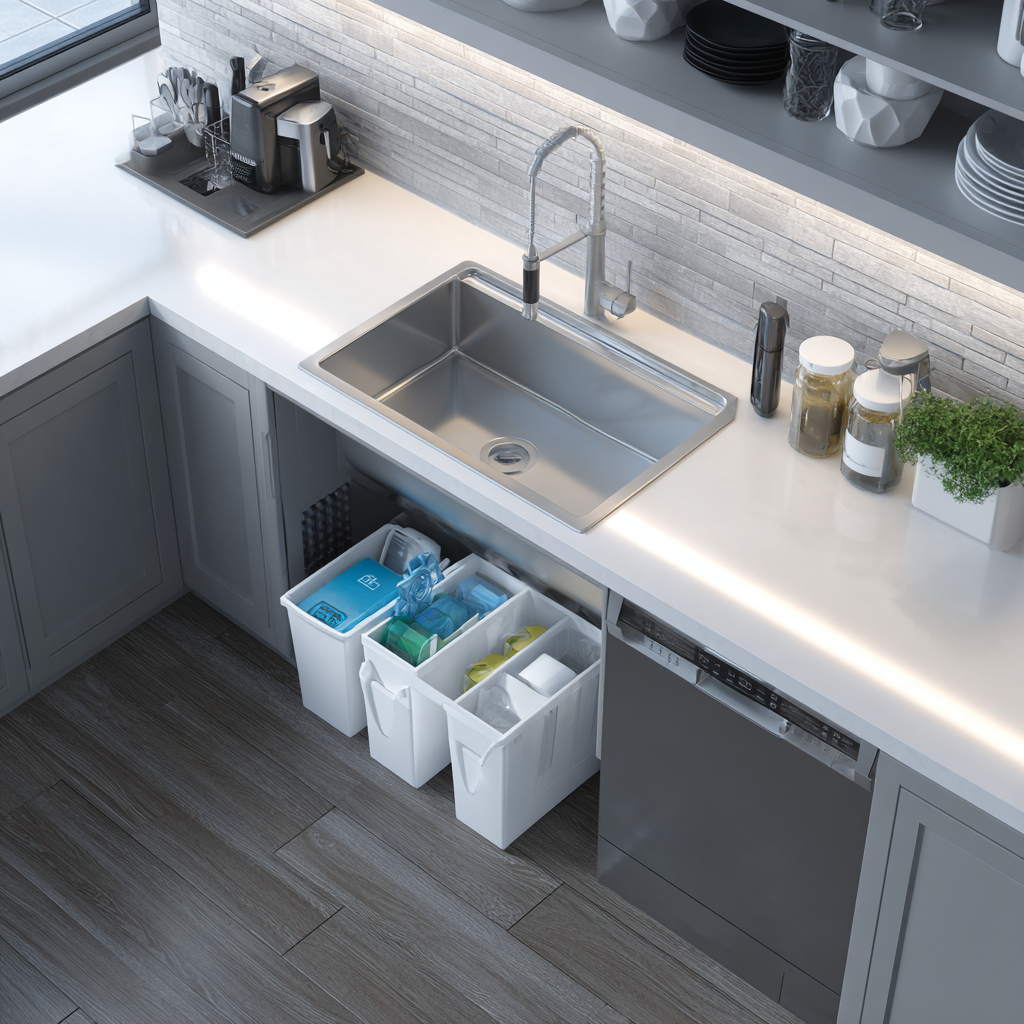
Before any cleaning happens, remove all trash and recycling completely. If your trash can has removable inner bins, take them out. This step alone often releases trapped odors you didn’t realize were there.
Giving the bin a few minutes of open air already helps reduce the smell.
3. Wash The Inner Bins Properly
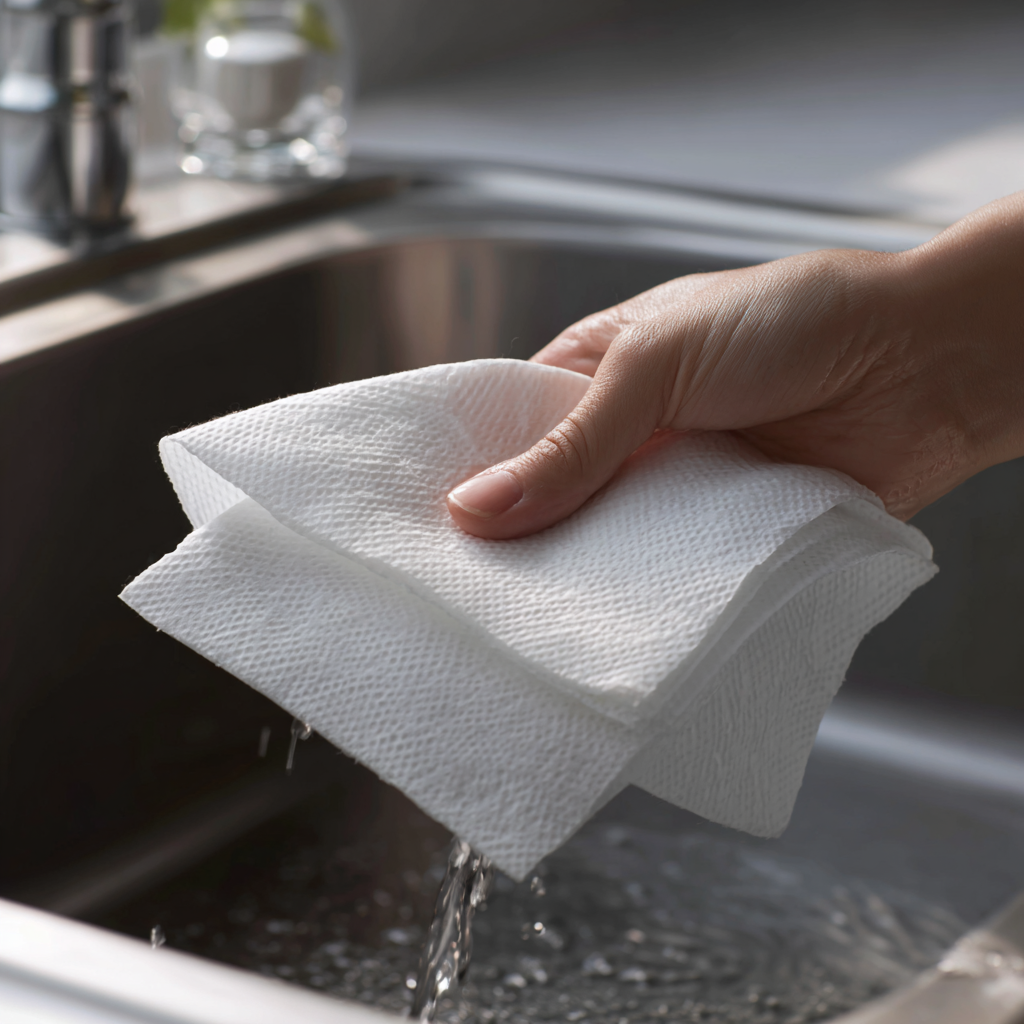
Inner bins need more than a quick rinse. Wash them with warm soapy water or an all-purpose cleaner and use a scrubber to remove anything stuck to the surface. Pay extra attention to corners and the bottom, where residue tends to hide.
Once cleaned, let them dry fully. Air-drying is ideal, but wiping them down works too if you’re short on time.
4. Don’t Skip The Inside Of The Outer Can
This is the step most people miss. Before putting the bins back, wipe down the inside of the main trash can. Dust, grime, and liquid residue often collect at the base, quietly contributing to the smell.
A quick wipe here can make a bigger difference than expected.
Looking to get your interiors done?
5. Clean Under And Around The Trash Can

Odors don’t always stay contained. Food particles and spills often end up under or behind the trash can, especially in busy kitchens. Move the can and clean the floor beneath it before placing it back.
This helps eliminate smells that seem to “float” even after cleaning.
6. Wipe The Outside Too

The exterior of the trash can gets touched more than we realize. Greasy hands, spills, and splashes leave behind residue that can smell over time. A simple wipe-down keeps the entire area fresher and more hygienic.
7. Keep It Fresh Going Forward

To prevent smells from returning, disinfect the bin occasionally and sprinkle a little baking soda at the bottom before placing a new bag. This helps absorb odors and moisture between cleanings.
Taking a few extra minutes every couple of weeks keeps the kitchen smelling clean without daily effort.
Looking to get your interiors done?
A Small Fix That Changes Everything
When the trash can is truly clean, the kitchen feels lighter almost instantly. No masking sprays, no guessing where the smell is coming from. Just a space that feels genuinely fresh again.
Sometimes, the biggest problems come from the most overlooked corners.
Find more simple, real-life home fixes with HomeBliss. Because a calm, comfortable home isn’t about perfection—it’s about knowing where to look and making small changes that actually work.