
Last updated on April 23rd, 2026
Kitchen cabinets sound like a full-blown contractor job. Measuring, drilling, leveling—it can feel like too much before you even begin.

But here’s the truth: if you break it down step by step, installing kitchen cabinets is far more doable than it seems. With the right prep (and a little patience), you can get a clean, professional-looking setup in just an afternoon.
Let’s walk through it the simple way.
Start With The Right Tools (Don’t Overcomplicate It)

You don’t need a full workshop. Just a few essentials:
- Drill machine
- Measuring tape
- Level (laser or bubble)
- Pencil for marking
- Stud finder (very helpful for Indian concrete walls too)
- Screws and wall plugs
- Wooden wedges for leveling
That’s it. Keep it simple.
Looking to get your interiors done?
Step 1: Mark Your Layout Clearly
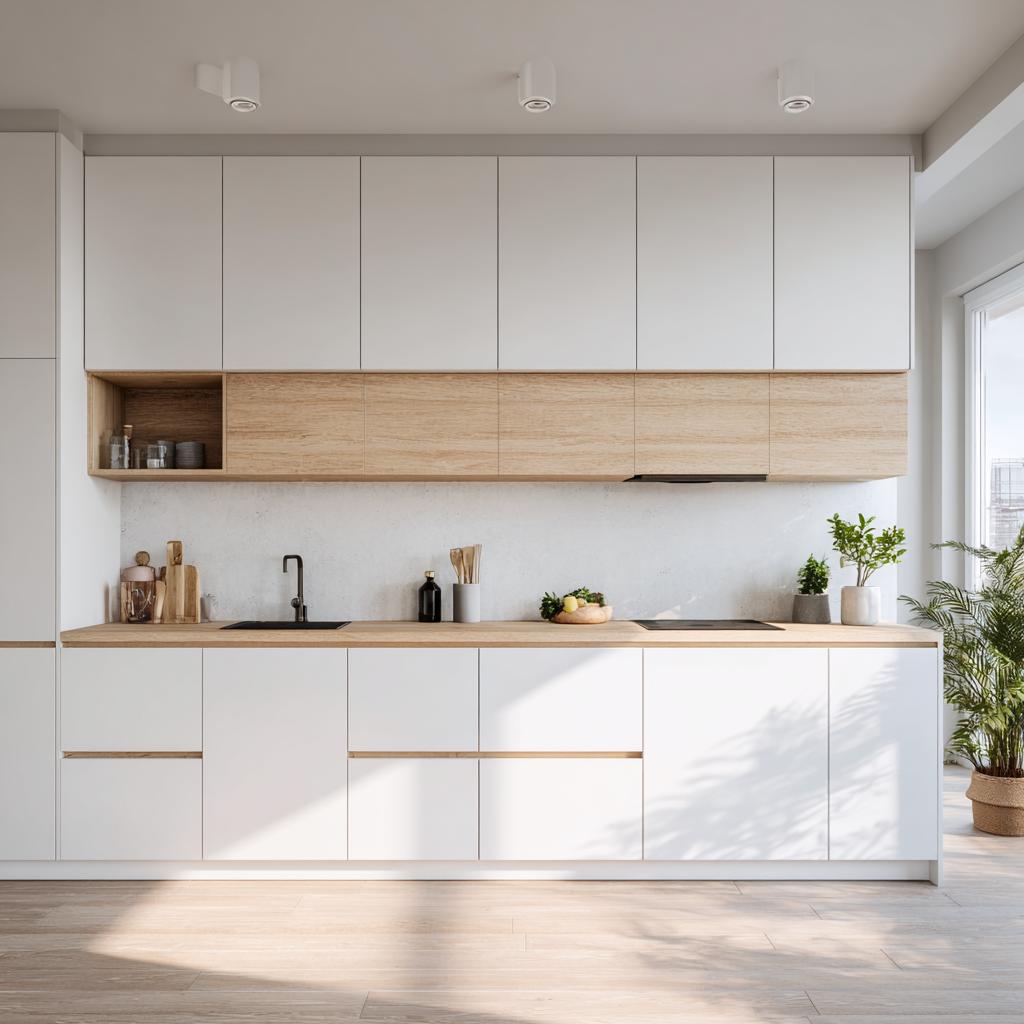
Before you lift a single cabinet, mark everything.
Use tape or pencil lines to outline where your base cabinets will sit. Then draw a straight horizontal line across the wall as a guide.
This line becomes your reference—so take a minute to get it right.
Step 2: Find The Highest Point On Your Floor

Here’s something most people miss.
Floors are rarely perfectly level. Even a small difference can throw your cabinets off.
Check different spots using a level or measuring tape.
The highest point becomes your starting point.
All base cabinets should align with this—never the lowest point.
Looking to get your interiors done?
Step 3: Check Your Walls (They’re Not As Straight As You Think)
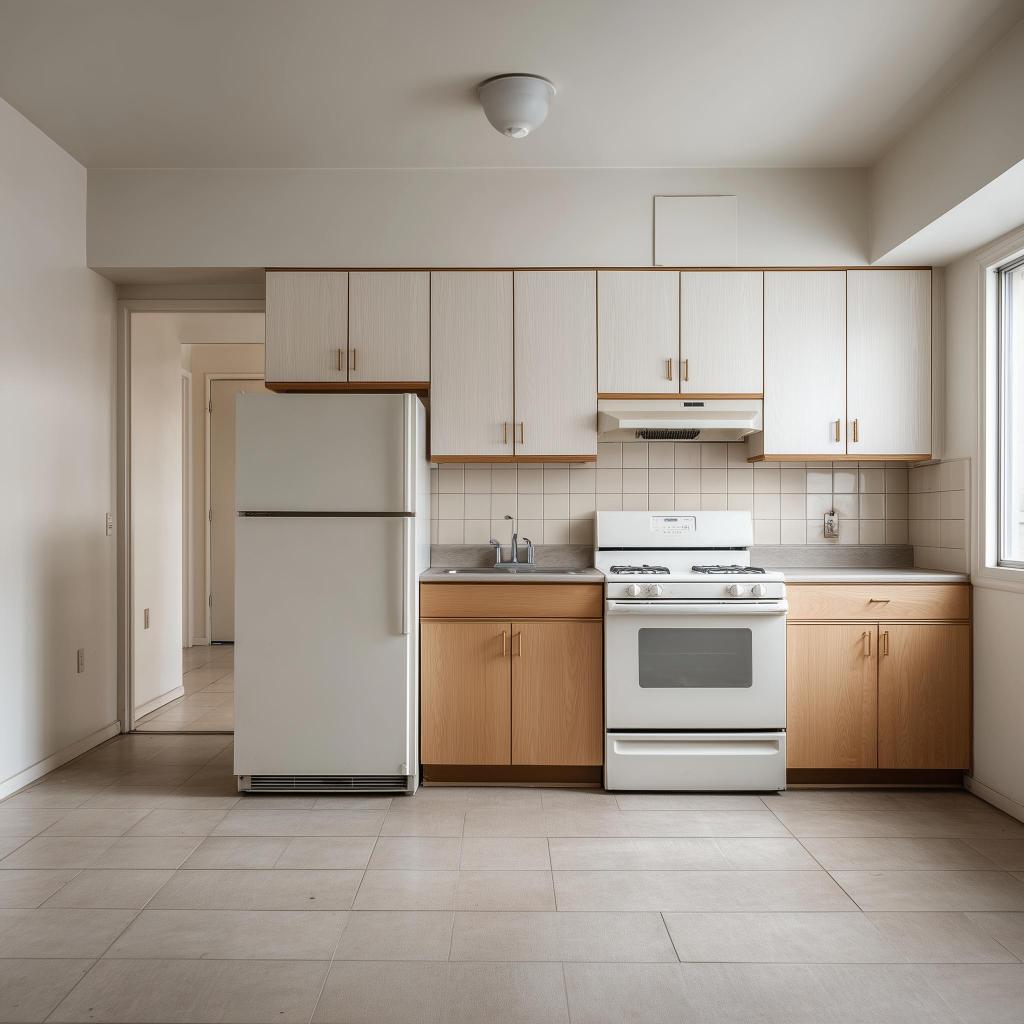
Walls often have slight bumps or curves.
Run a straight edge or level across the wall to spot uneven areas. Mark them lightly.
This helps you avoid cabinets that tilt or don’t sit flush later.
Step 4: Install Upper Cabinets First (This Is The Trick)
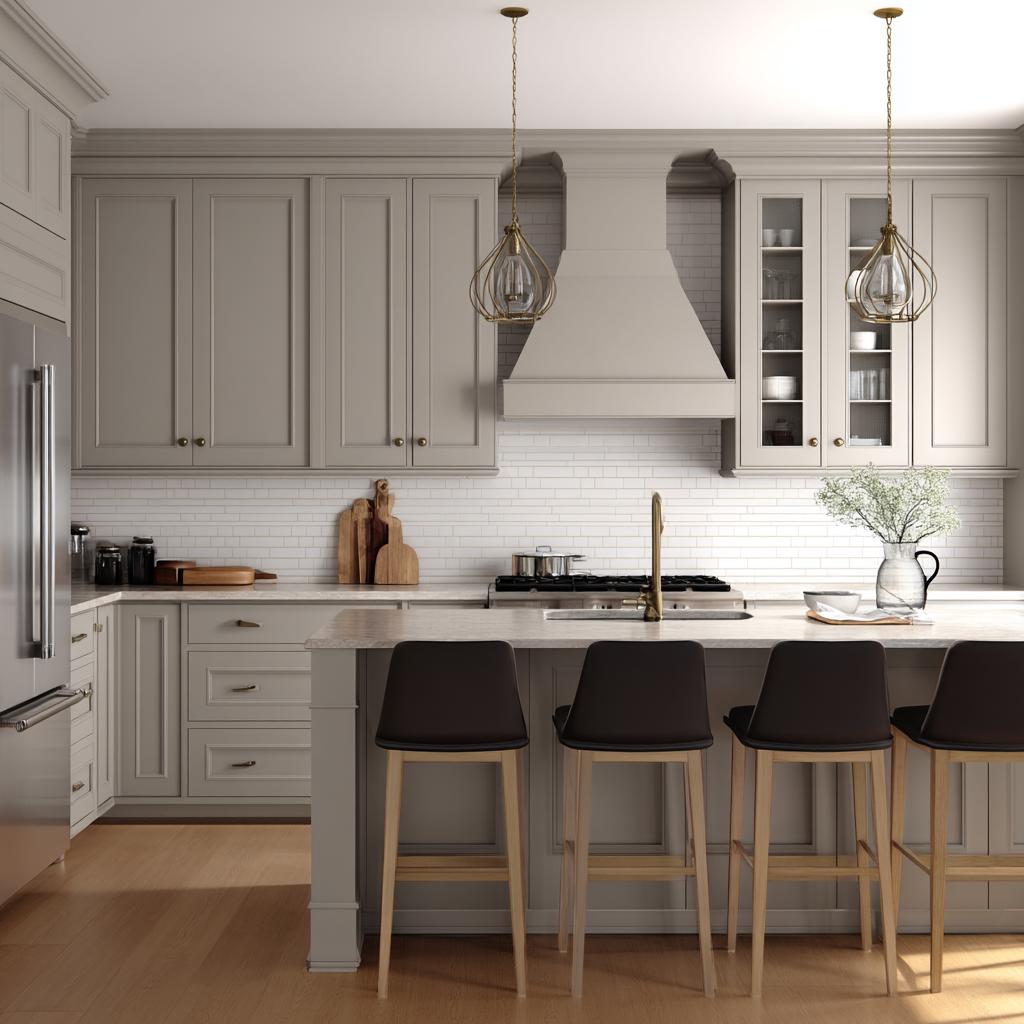
It feels counterintuitive, but always start with wall cabinets.
Why? Because once base cabinets are in, working above them becomes awkward.
Fix a temporary support (a simple wooden strip) along your guideline. This acts like a ledge to hold the cabinets while you secure them.
Then:
- Lift the cabinet onto the support
- Align it with your markings
- Screw it into wall studs or use proper wall anchors
Work from one corner outward.
Looking to get your interiors done?
Step 5: Move On To Base Cabinets

Now comes the easier part.
Place your base cabinets along your floor markings, starting from the highest point you identified earlier.
- Use wooden wedges under cabinets to adjust height
- Keep checking with a level as you go
- Join adjacent cabinets for a seamless look
Once aligned, fix them securely to the wall.
Step 6: Fine-Tune And Clean Up
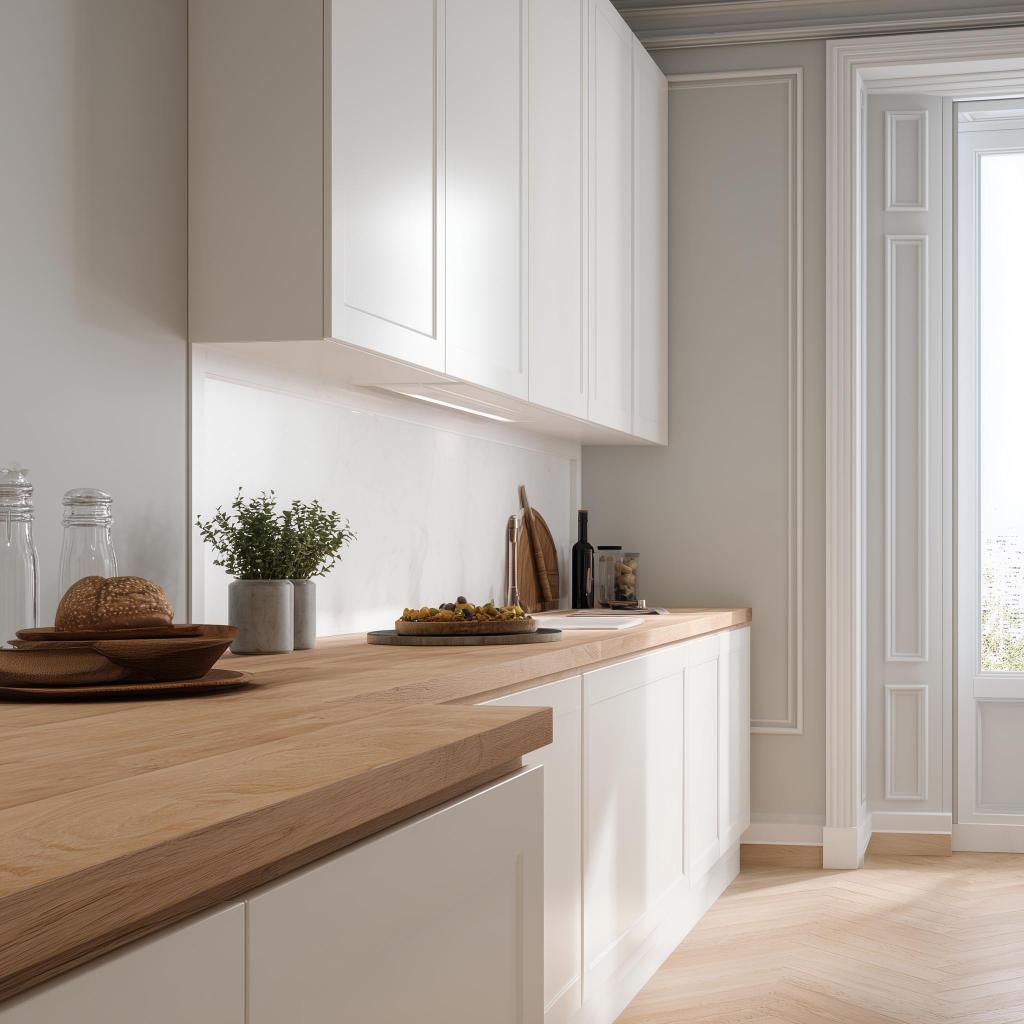
After installation:
- Trim off any extra wedge pieces
- Wipe off pencil marks
- Adjust cabinet doors and hinges
Only after everything is fixed should you install handles and hardware.
Smart Tips That Make A Big Difference
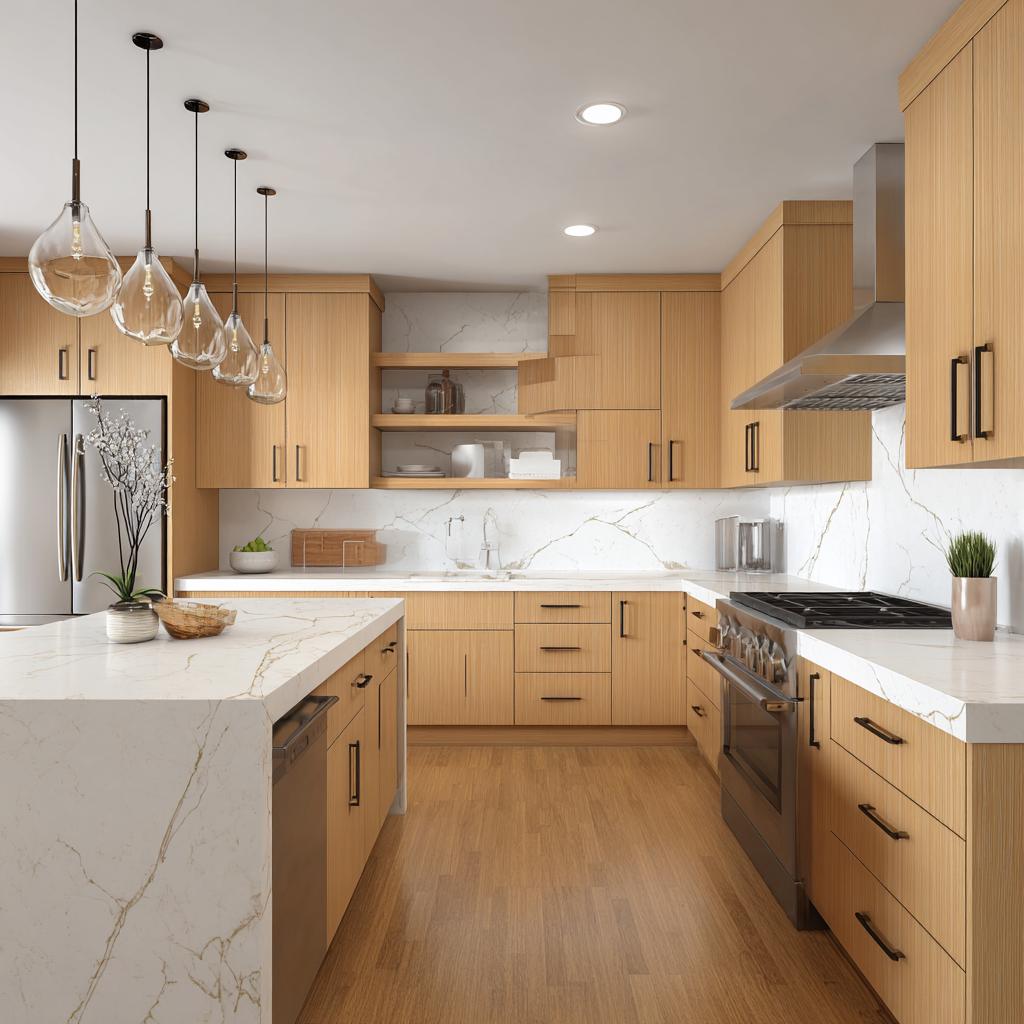
- Always work with someone—cabinets are heavier than they look
- Fix cabinets before laying flooring for a cleaner finish
- If you have a window, align your sink cabinet under it
- Don’t rush leveling—this step decides how everything looks
Last Words

Installing kitchen cabinets isn’t about being an expert—it’s about being methodical.
Once you understand the sequence—measure, mark, level, then install—it all starts to feel manageable. And honestly, pretty satisfying too.
At HomeBliss, we believe great homes come from simple, confident upgrades. And sometimes, all it takes is one afternoon (and the right approach) to completely transform your kitchen.


